 The best thing about this is how easy it is. I’ll admit to being a bit cautious about doing this. Visions of strange moulds and smelly, inedible meat went through my mind. Well I found out that, as long as you’re careful about your food hygiene, it’s not a complicated process at all.
- a sense of achievement from your home made charcuterie
- the taste is just great
- you’re not paying premium prices
The story started when we received half of a Gloucester Old Spot pig as part of a barter. Here’s what arrived:
- a pancetta like bacon
- some chorizo
How to make a pancetta style bacon
We made the pancetta with the belly which I’d boned out to about 2.5kg (5 1/2lbs). I cut it into four roughly equal pieces so it will fit in the curing container. You need to leave the pork for at least five days after the pig was killed so that the meat will take the cure. Any earlier and the necessary natural chemical changes will not have taken place and the cure will not work. Just store the pork properly in a cold fridge and you’ll be fine.
Salt quantity
Having done some research in our books and on the internet, we thought we needed about 100g (4ozs) of salt for each kilo (2lbs) of meat at each salting. After we had done the cure, I came across an article by Phil Daoust in The Guardian called The secrets of home-curing your own bacon. In this bacon producer Jasper Aykroyd says that you need 30g (a big ounce) of salt for each kilo (2lbs).We certainly did not use anywhere near as much salt as my initial calculations. As the cure progressed there was no point piling more salt on top of the salt that was there and which was not saturated. Indeed, the bacon ended up quite salty as the article discusses. It’s not really a problem for the pancetta, because I use it as a seasoning rather than a meat component, so I just use less additional salt. I haven’t yet done a cure with the 3% ratio yet, so I can’t say how that goes. I will do it another time and update the blog. As I’ll explain, his method is more akin to a wet cure, which partly explains the difference.
Ideally, use a pure sea salt for your cure or pure rock salt. Normal ‘table salt’ has additives to stop caking and some salts have iodine or other things which will spoil the flavour of your cured bacon.
Aykroyd also recommends the use of a small amount of saltpetre in the cure. All I’ve read suggests this is not necessary and its main effect is to preserve the pink colour of the meat. I do have some, but didn’t use it because the bacon was going to be smoked and so the colour was not a big concern. You can safely leave this ingredient out, so I’m not going to rehearse all the arguments about its use here.
Length of cure
Also, I calculated we needed to cure for two days for each 500g (1lb) of meat which meant a 10 day cure. Given that the bellies are each no more than 30mm (11/4in) thick, I think that the 10 days is on the generous side as it would also apply to thicker cuts of meat. So it proved and I think the cure was complete within seven days.
Method
Curing
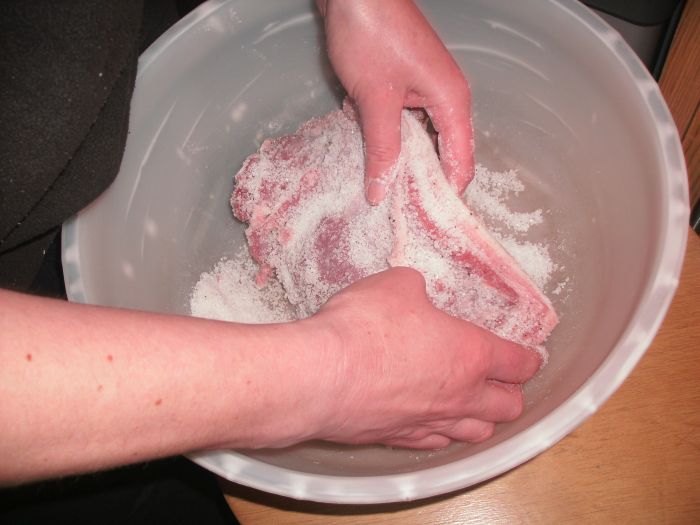
Debs then rubbed this into every nook and cranny of each bit of the pork belly. It’s important to make sure you are careful about this.
We then placed the four joints in a small cool box, on top of a small plastic container so that any liquid drained off the pork. We put frozen cool packs into a bag on top of the joints and then placed the whole thing in the workshop with a weight on top of the lid in case of animal interest. The cool packs went in a bag so that they could be changed & refrozen daily without needing to wash them.
Here there is a difference with the Guardian article. Aykroyd says to put the pork in a bag and allow it to sit in the brine created. In this way he’s creating a wet cure ‘on the fly’. Clearly, he appears to be successful with this so I’ll investigate and report back.We checked the box daily, draining off any liquid, adding more salt where the pork looked not to be covered and reversing the order we stacked in the box so a different one was at the bottom.
As the pork turns into bacon, it loses flexibility. To be honest, I didn’t notice any change in colour.
After seven days it was clear that the bacon was not ‘using’ any more salt. So we stopped adding salt and just checked daily.
At the end of 10 days we were convinced the cure was complete.So we took out the bacon and washed off the salt. I taste tested by frying some offcuts, without oil, in a non-stick frying pan. It’s very salty, but as I say for a ‘seasoning’ this is not a problem. I’ve since read that you can soak in cold water for two hours, drain; soak again for one hour and drain to remove the saltiness. I’ll do this next time. Dry the bacon well.
Smoking
The next step is to form a ‘pellicle’ on the bacon. The remaining cure in the bacon will encourage water soluble proteins in the bacon to form a layer on the surface of the bacon called the pellicle. This seals in any remaining moisture without which the bacon will be tough. It also stops the fat spoiling and gives a surface for the smoke molecules to stick to.
If you have plenty of cool space to hang your bacon up in, the pellicle will form in 24-48 hours. You might want to cover it in muslin if flies are a risk. If you don’t have the luxury of such a space, you can do what I do which is to use the fan in my fan oven. Place the bacon on the grill pan level with the fan and put the fan on without any heat. Do this for an hour and then turn the bacon and do it for another hour. You should see a shiny layer appear on the surface of the bacon. If you haven’t a fan oven improvise with any rack and fan set up, protecting from vermin, flies and clumsy relatives as necessary.
If you don’t want your bacon smoked, you are done. The bacon will keep for weeks in the fridge or you can freeze it.
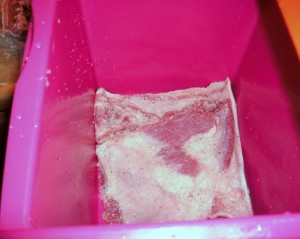
Here’s the ‘pellicled’ bacon ready for smoking. Note the colour and general size. You will need to ‘cold smoke’ it which means it gets smoked but not cooked. Things like mackerel and herrings are hot smoked and cooked in the smoker at higher temperatures.
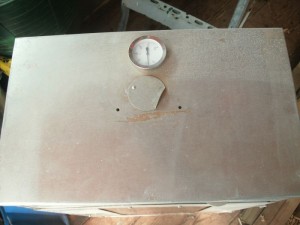
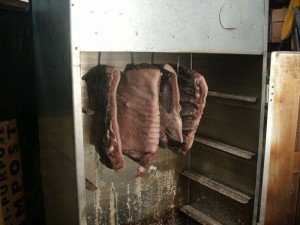 Our smoker is a relatively inexpensive cabinet type. The sawdust sits in the tray at the bottom. We control the temperature and amount of smoke by limiting the amount of sawdust smouldering and the air inlets & outlets on the cabinet sides and top.
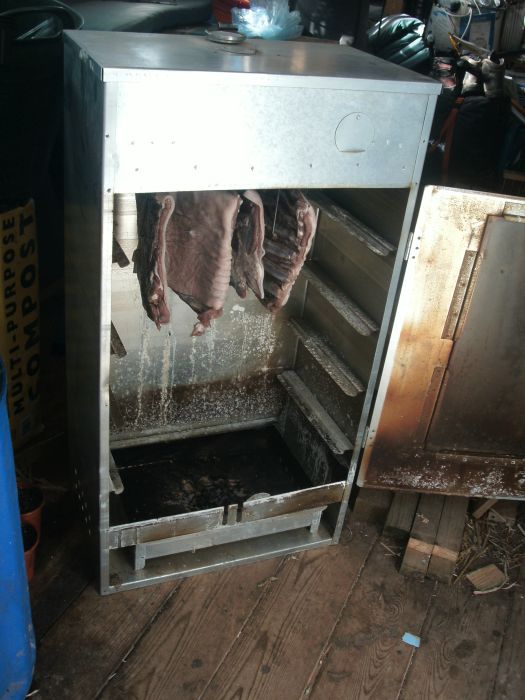
This cabinet has a handy temperature gauge fitted in to the top.
The ideal temperature is 24°C (75°F). The process is pretty tolerant as long as you keep it mid 20s and don’t go for long over 30°C (86°F). You are trying to smoke the bacon, not cook it.
We smoked the bacon over two days. The smoke needed a lot of attention because we used only small quantities (about a mugful) of sawdust at time. Any more and the temperature rose too high. We broke for sleep and started again the next day. In all, the bacon probably had 20 hours of smoke over 2 days.
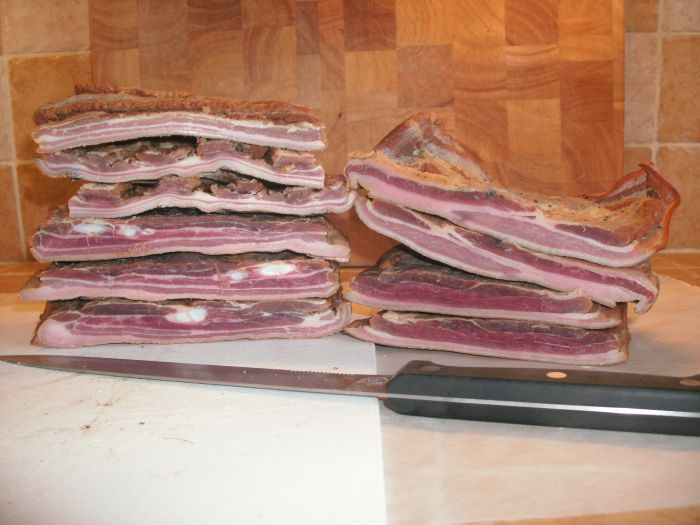
The important thing to check is that the bacon loses at least 25% of its weight at the end of the process. Ours had done so and looked like this:
You can see how the smoke has coloured the surface. The skin is now ‘rind’ and is hard and inflexible. The smell is fabulous and the bacon firm.
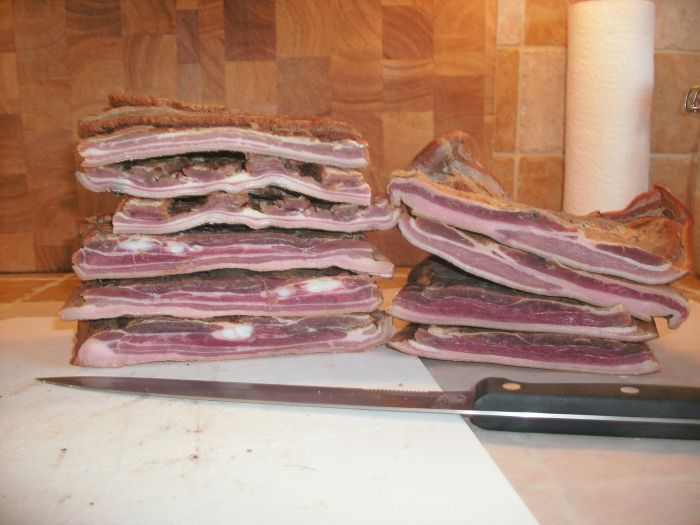
We wanted to see how the bacon looked inside:
Final process was to cut into smaller portions which we vac-packed and froze.
I take out what I need and it will store in the fridge for weeks. If I’m making lardons I’ll cut off what I want, ‘skin’ it by cutting the rind off with a flat blade horizontal to the board. Keep the rind you have left. I add the pieces to meat stocks to add some more flavour and body.
There you have it. Hope it was useful and has inspired you to have a go. Let me know how you get on.


Comments
8 responses to “Makin’ Bacon – How to cure your pork”
Hey there! Glad to have come across your blog. I just started blogging recently on all things ‘Food’. I am The Atomic Carrot ( http://www.theatomiccarrot.com). I decided to start sharing my knowledge as I research how to change the way I view food, purchase it, grow it, prepare it. I just cured my first slab of pork belly tonight and am hoping it’ll come out OK. Your blog post was a great help. Would love if you followed my blog and shared any advice or opinion on my posts as I go along. It would give me great satisfaction to know that it will be a great help everyone else out there who are trying to understand how to change their lifestyles, cook and grow better foods, and support sustainability. Thanks!
[…] kept, slaughtered and butchered my own pigs and made my own bacon, chorizo and sausages. So I’m an enthusiast for the process and the products. I’m also, […]
Carl you are a saviour, out of all my online friends I knew it would be you to come to my porking rescue. Thank you ever so much and I will let you know how the porking goes.
“Porking” ROFL. Please let me know how it goes Bethan, glad to be of help 🙂
Hi Simon
Thanks for that. I do more highly flavoured cures when I cure chops etc to eat without smoking. I didn't hink it worth doing more with these because of the smoking.
Really enjoying curing things, some really great tastes and textures.
Thanks for popping by…
Cheers
Carl
Hi Joanna
Funnily HFW was where I started but I've also got 2 or 3 other books on curing & smoking and I did an internet search. To be honest, there's not a great deal of consistency in the recommendations, so I'm just going to alter according to experience.
We have a cheap (<£18) vac sealer from Westfalia. It's what you'd expect from such an inexpensive product, but I couldn't justify spending loads. It stops the freezer burn.
Would love to see pictures of how yours comes out. Are you going to smoke yours?
Cheers
Carl
Excellent post Carl – We bought a 2kg piece of Peter Gott's Silfield Farm belly pork yesterday (it was ridiculously cheap)- a kilo will go to be slow roasted & the other half cured for bacon. I like to add a a little in the way of flavouring, juniper berries or molasses as well as pepper, mind you the combinations are endless. We tried exactly the same method to cure duck breasts & was pleasantly surprised by the results.
Hi Carl,
I've just rubbed my cure into some pork belly, so fun to see another way to do this. I'm following approximately Hugh FW's instructions for a dry cure. He uses 1kg salt for four "thin ends of belly". He recommends five days' salting, and doesn't bother to raise the meat off the bottom of the curing box.
I've raised mine, because otherwise, as you say, it's really a wet cure. I'll take a view after five days, because I'm not sure it's enough. On the other hand, it won't be quite so salty.
I've also just acquired a slicing machine. Which means I may try a different approach, as this – like yours – is really a lardons sort of bacon, rather than a rashers type. I'm experimenting now, so that we've got it absolutely sorted when we slaughter our weaners in the autumn
Very interested to hear your recommendations on vac-packers
Best wishes
Joanna